It was time to shotcrete the central circle of the house. This post is mostly a gallery of pics to tell the story, but first, the video…
The Video
The Gallery
- Extra time to add the mudroom roof
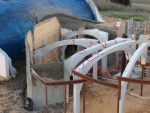
- The rolled steel arches were welded to an angle iron bracket that was sitting on a concrete ledge and had been tapconned the wall. They were very secure.
- Additional #5 rebar pegs were also added to the assembly to strengthen the connection between the roof and walls.
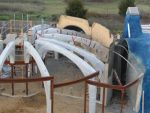
- This shot shows the full length rebar spaced one ft from the steel arches and the pegs placed every 6 inches. This pic was taken before the last peg was placed over the steel arch.
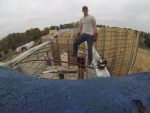
- This wider view shows the span with the rebar spaced no more than 1ft apart.
- Kids love to climb.
- They air compressor was helpfull for cleaning the dust off the footings just before shotcrete. You don’t want a layer of dust to contribute to a cold joint. You want the shotcrete to bond as well as possible with the footing and hopefully leave no cold joint at all.
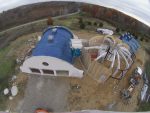
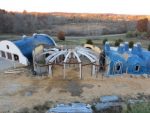
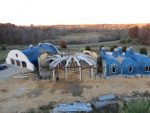
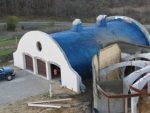
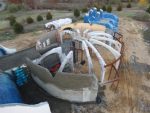
- Airial view of the shotcrete equipment setup and our formwork.
- Michael and Sherri went around to do a final inspection and get some pictures.
- In the background of this shot, you can see the strap I used to pull a stubborn wall form plumb.
- Final inspections…
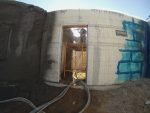
- You can see the electrical conduit, etc.
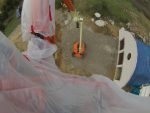
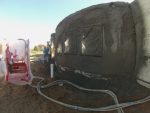
- We wrapped the concrete arches to protect them from the shotcrete overspray.
- For this job, I got the articulating lift instead of the boom lift… We didn’t like it as much.
- Here you can see the first pass of shotcrete and that a whole section collapsed. They came back and filled it in after the other shotcrete had stiffened up a bit.
- Even thought we didn’t like the articulating man lift as much as the boom lift, we did like the lift company. We highly recommend wolverine rental.
- The final texture was sort of smooth, but certainly not flat. It won’t matter to much since it will all be covered, and at least it was smooth enough to waterproof easily.
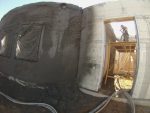
- Here they are working on the wall in the mudroom. This is why I didn’t want to finish the roof. But once this was done, I could close it off.
- David went to get my camera and move it at some point…
- End of day 1…
- End of day one and we had the north side mostly done.
- The timelapse caught this by accident as Aaron was moving it. All the rest of the pics were a tumble of sky and earth, with this one stuck in the middle.
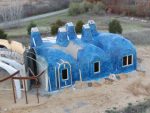
- The nearest neighbors house looks quite nice on this fall day. I am sure the view in the other direction is not as pleasant… Sorry.
- With the shotcrete only 16 hours old, we started to strip the forms.
- Here you can see a closeup on an electrical outlet. The smurf tube did make a bit of a shotcrete shadow.
- Here you can see the imprint of the particle board after removing the forms.
- Hunter setting up the camera…
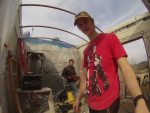
- Paxton’s son, probably stretching a bit, after all that bent over welding.
- Morning of the final shotcrete day… Still a bit foggy at 1000 ft elevation.
- In these foggy pics, you can see the mudroom roof is ready to go.
- Over the weekend, I also had time to remove the particle board from the apse parapet.
- Parapet after removing the form boards.
- If I had completed the span across this hallway, the guys would have had to shoot the concrete upward and probably would not have got the wall as solid.
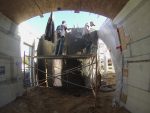
- This was the funniest thing… With the weight of the two guys and the heavy hose, they couldn’t get the basket to top back up again. I appreciated that they just went ahead and did the shoot anyway.
- This was the minimal bracing that we put under the mudroom ceiling to provide a little extra support. I don’t know that it was necessary or ever took any load, but better safe than sorry.
- This is how the mudroom ceiling looked after pulling away the formwork. Of course, we will plaster over this at some point.
- THis is the mudroom ceiling after removing the bracing and boards.















Response to Shotcrete of the central circle
Paulo Junior says:
Hi, my name is Paulo, I’m from Brazil. What is the trait (recipe) of this earth concrete?
Simon says:
It was a 7 sack pea stone mix with fly ash as an additive (helps it flow thru the pipe with less water) and a bit of glass fiber (to prevent cracking).