Stucco For the Bedrooms
Posted on January 20, 2018 by
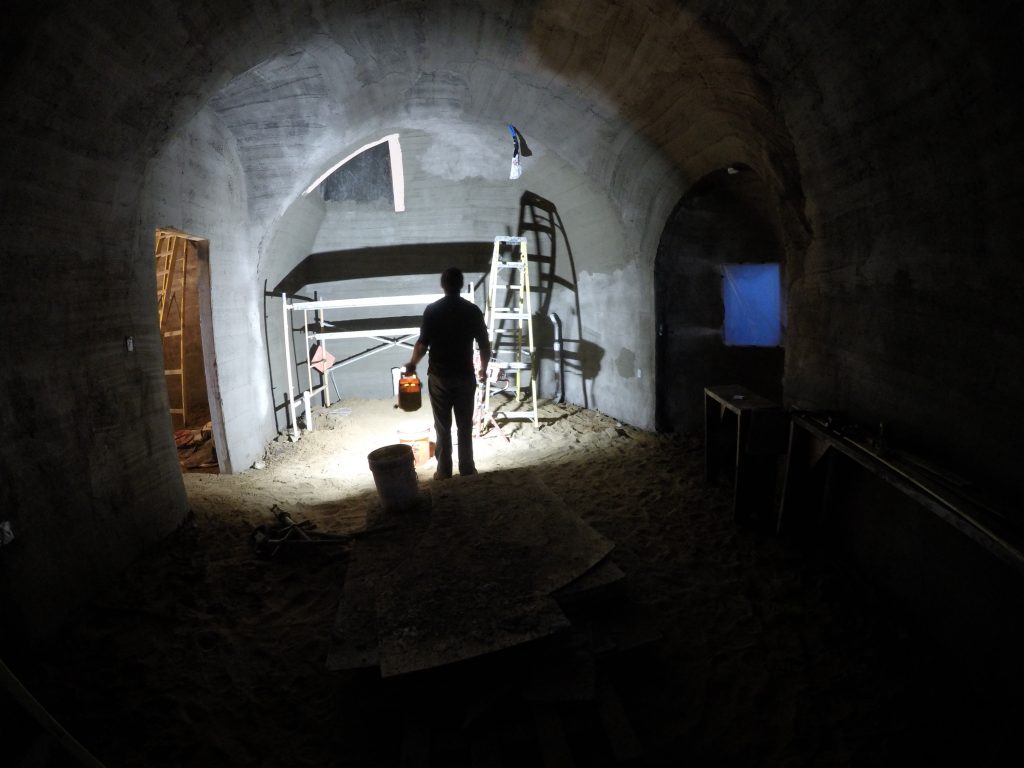
This post has two videos (because I had too much footage) and a lot of good pics in the gallery.
The videos
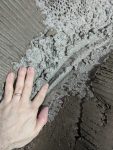
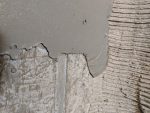
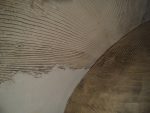
The first video is about applying the scratch coat. This actually took most of the time because we spent a lot of time trying to make everything nice and smooth over the rough shotcrete and lath walls. After getting the wall the right shape, we would use a special tool to “scratch” the stucco so that the next layer would have nice ridges to grip on to. Here is that video.
The second video is for the brown coat. This is a smoother coat that we applied over the scratch coat. It was easier because most of the work to get the right shape was done with the previous layer, but it did have the challenge of getting a nice smooth finish, which was particularly tricky because we were not out there for enough hours at a time… Here is the video to explain.
The lessons learned
We really learned a lot of useful stuff while doing this project and it certainly can’t fit into the videos, but I’ll try to put some of it here….
I’ll come back and fill this in later (promises promises)
The Gallery
This is the part most of you wanted to see anyway… I try to tell a story with the captions.
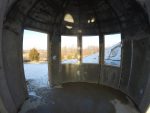
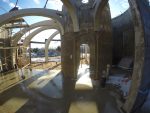
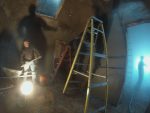
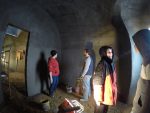
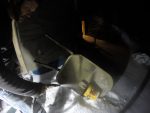
- Because the videos focus on the inside work, it is easy to forget that it was winter outside…
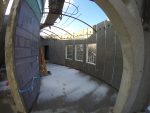
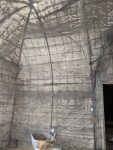
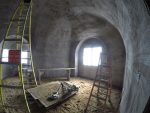
- This will eventually be the guest room, but for now it has no roof and is essentially outside.
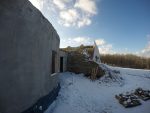
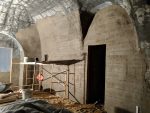
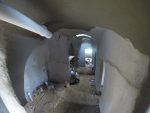
- Here we are outside the north side, looking back toward the south thru the playroom apse door.
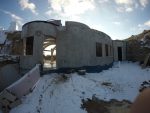
- This is the north side of the house
- This is actually the center of the house, but without a roof yet, it looks a lot like outside.
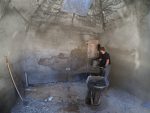
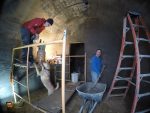
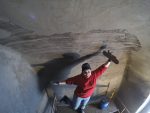
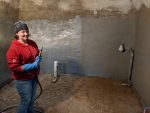
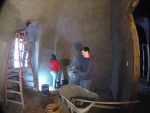
- Here I am using the water sprayer to apply the scratch coat stucco.
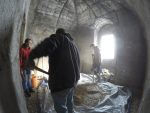
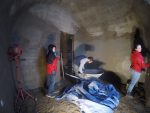
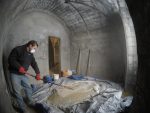
- We would mix our dry ingredients (sand, hydrated lime and portland) on a tarp.
- In some spots we had to pack a lot of stucco in to fill the gaps between two layers of lath.
- Some times the place got a bit messy…
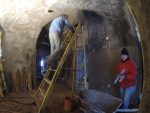
- We did a lot of mixing…
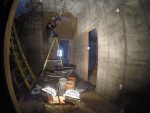
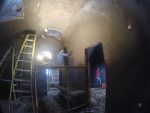
- The skylights would freeze, but only in the section above the dirt level. Once we insulate them, this problem should go away.
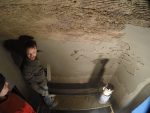
- Sherri playing with the dog while I mix
- Sherri definitely did her fair share of stucco work
- We took lots of pics like this before the stucco went up so we could remember where the electrical conduit and other hidden things were… Just in case.
- Fresh scratch coat on the walls of the master bedroom.
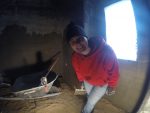
- Sherri checking out the camera. They often leave me these little shots to find when I am editing.
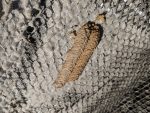
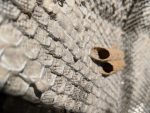
- Mud dauber wasps had started building on our walls. We had to put a stop to that.
- The entrances to the mud dauber wasp nests.
- Lots of pics like this from the GoPro. Hard to decide which ones to throw away.
- Working together
- Working away in the hall and bedroom
- Family time
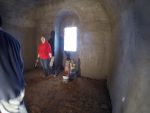
- The bedrooms were warm and humid, even though it was well below freezing outside in the middle of winter. We had no heat, but did occasionally wet the walls down with hot water.
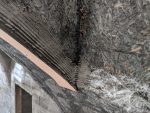
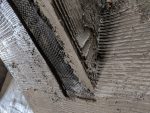
- This is a rough corner. Clearly the stucco was hard tooled with no interest in making a nice fillet. I would need to fill this with stucco instead.
- The first step is to attach a board, then we pack it with stucco or mortar.
- Here it is after packing with stucco…
- Then we scratch it so it can hold the next layer better.
- Then we can strip off the wood and stucco that section also.
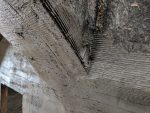
- Here it is after scratch coat in the fill section.
- Looking toward a long evening of hard stucco work
- At the end of every evening, we would need to head outside and wash out the tools.
- The master bedroom with scratch coat.
- The back end of the master bedroom, really the master bath, with scratch coat.
- Another angle on the master bathroom scratch coat.
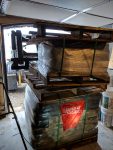
- After we ran out of sand (those huge piles), we started buying pre-mixed stucco for $6 a bag. This was a pic of the delivery from Menards.
- Another one of Sherri being silly for the camera when I am not around.
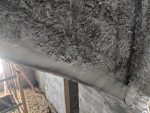
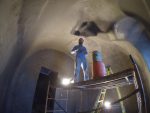
- We got pretty good at ceilings during this project. Just a little slower than walls.
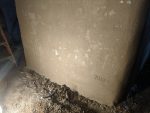
- We tried the hard rubber float on this wall when it was still too soft and it pulled off some bits of the brown coat (so you could see the scratch coat). But I kind of liked it, so I put the date in and left it like that.
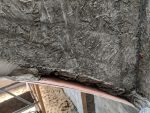
- The OSB formed sections were pretty nice already with lots of good texture, so I just skipped the scratch step and applied the brown coat directly. It also went over the steel studs without a problem.
- A birds eye view of the hall ceiling with fresh stucco on it.
- The stucco in the foreground has been sponged. The stucco in the background is just troweled on.
- Sherri Showing off her sponge finish (on the right side)
- This is Davids bedroom, so we made sure he got some stucco time in.
- On the floor, we mix one bag of portland, 1/3rd bag of hydrated lime and 25 gallons of sand. In the wheel barrow we add water and 1 qt of thinset to make it sticky.
- Here you can see brown coat over scratch coat
- Occationally, stucco falls down. This is how our faces look when it happens.
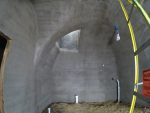
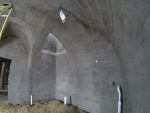
- One of the bedrooms after the stucco cures and turns mostly white.
- Master Bedroom with browncoat stucco patches. Each patch is one evening’s work.
- Sherri also stuccoed the office, but I didn’t record any of it on video, so it didn’t make the timelapse movie.

